This is the follow on to the Diff Removal Guide.
I will detail here the appropriate steps necessary to completing an LSD install.
NB:
This process is not for the faint hearted. I would highly recommend that you save yourself the aggro of a willy up and pay a Gearbox Repair Shop to do this part for you.
Remember, however that you will save £££'s by removing / reffiting the Diff in the axle yourself.
You have been warned! 8)
1#
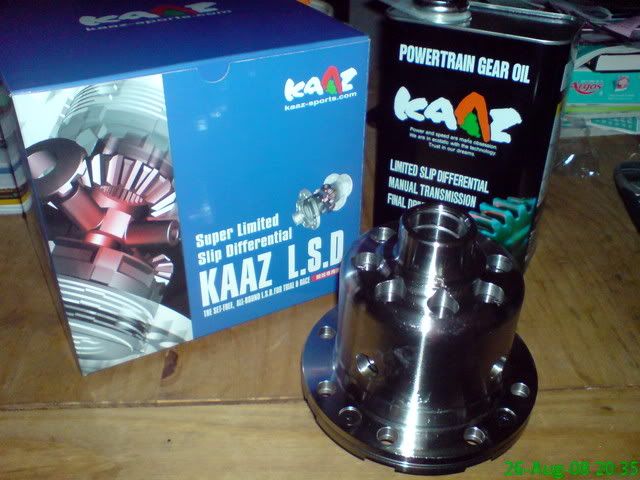
I chose a Kaaz 2 way LSD, there are many types available, although the process of installation remains the same. The kits usually comprise of just the diff and a carton of oil. Some have gaskets and even bearings included:
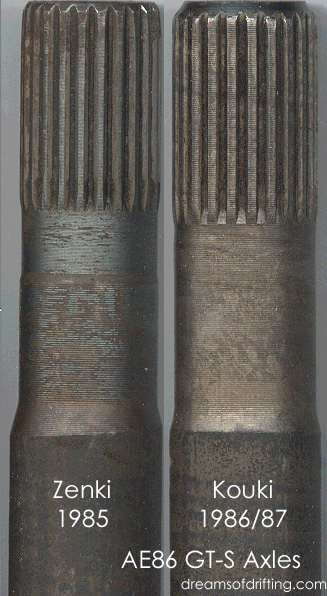
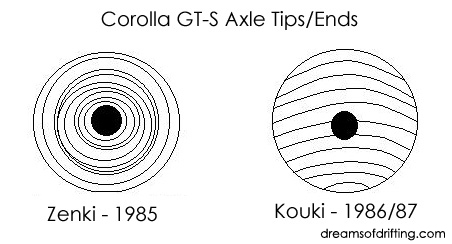
Also here are some useful pics that will help you decide whether you will need an early or late type diff :
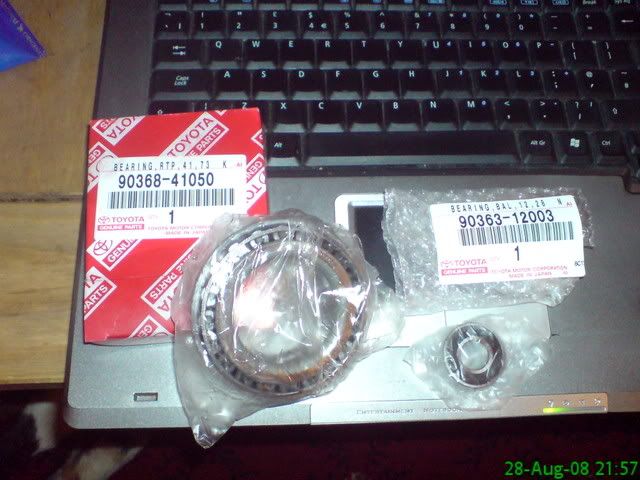
You'll need to source new differential bearings too - these are the same for ALL AE86's, So make a note of the part number.
###### Ignore the little bearing, that is a spigot bearing that locates the gearbox mainshaft in to the end of the crankshaft ######
2#
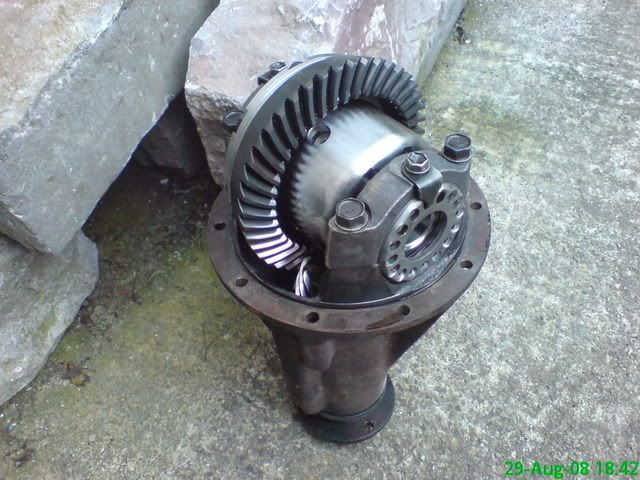
First off take one plain diff:
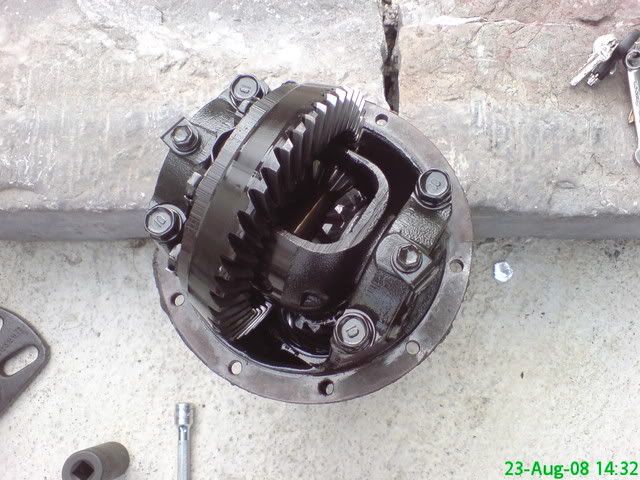
Mount the diff casing in a large vise with the crown wheel on the left side:

3#
Carefully undo the four 17mm main strap bolts, and the two 12mm lockplate bolts. Gently tap the main straps with a small hammer and the will pop free, releasing the bearings and lockplates.
Carefully lay the main straps with their bolts and the lockplates out in the same orientation that they were on the diff.
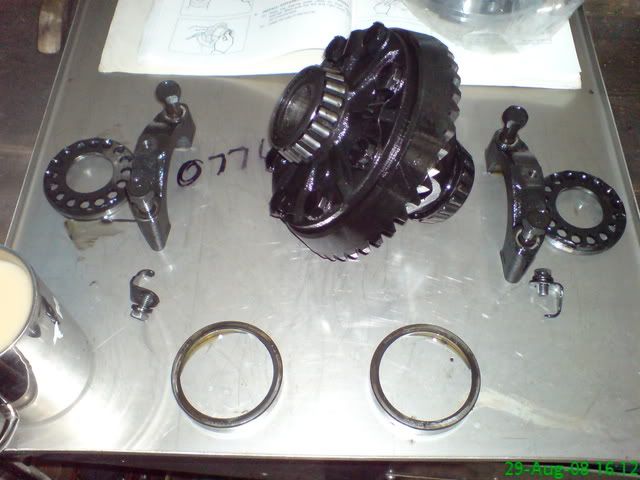
It is ESSENTIAL that the main straps and lockplates and bolts all return to their original positions when refitting.
4#
Using a large, preferably 10 ton press, Install the new diff bearings.
I selected a large socket and ensuring it did not foul on the bearing cage, gently pressed the bearing fully home on its seat:
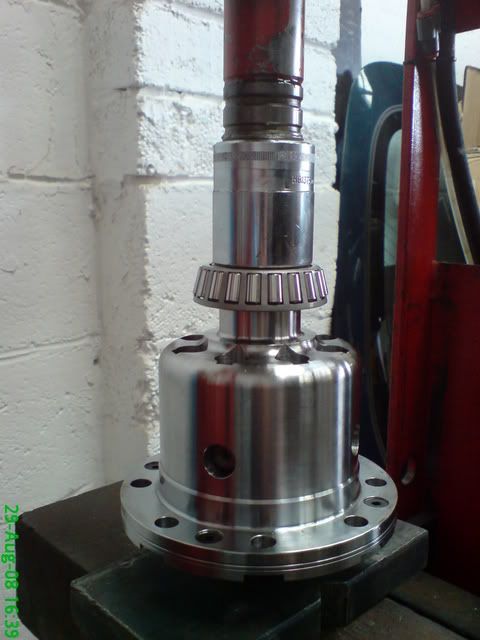
Make sure it is fully seated all the way around its shoulder:
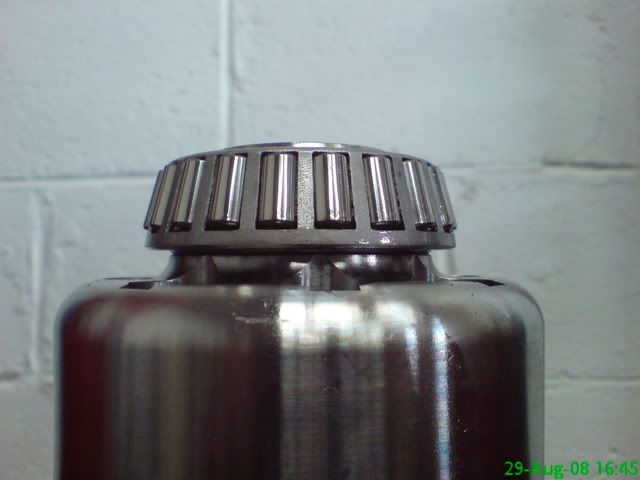
Repeat this process for the opposite side diff bearing.
5#
Now we need to strip the crown wheel off of the old diff. Carefully tap down the raised edges of the lock washers, to allow access to the 17mm bolts:
Using a 1/2" inch drive beaker bar and 17mm six point socket, carefully undo all of the bolts and remove. It should drop off easily:
6#
Thoroughly degrease all of the crown wheel bolts and the wheel itself with brake and clutch cleaner. Pay particular attention cleaning out all the threads. Dry all parts completely.
7#
Install the crown wheel on the diff. It is usually a tight fit, so carefully line up the bolt holes and gently drift it into position using a plastic shot filled dead blow mallet. A normal hammer will destroy the teeth.
I gently gripped the diff in the vise using some thick cardboard to protect it.
APPLY HIGH STRENGTH TREAD LOCKING COMPOUND TO THE BOLT THREADS!!!!!
I opted to torque the bolts to 60lb/ft as the locking washers do not fit the new diff, so to account for this we dry the threads and use thread lock, then install the bolts and ensure they all start smoothly by hand. Torque them down evenly, ensuring that you torque opposing bolts to spread the load.

8#
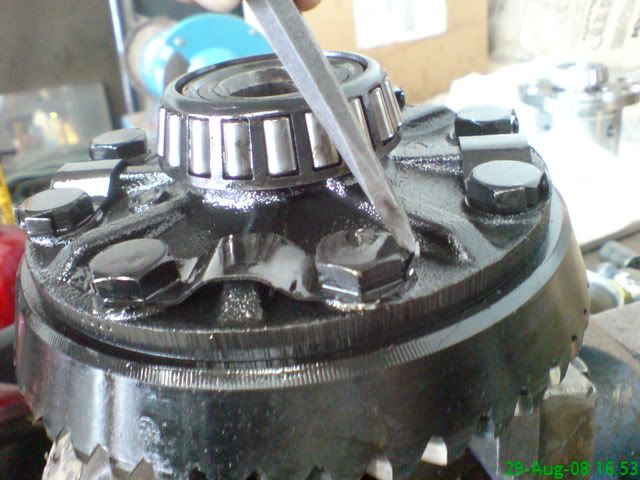
Take the new bearing cups and hold in place on the bearings, and place the whole unit back in the case. Note threaded lockplates at either side of bearings:
Seat the threaded lockplates back in place next to the bearings, ensuring the thread is seated correctly.
Gently place the main straps and bolts back in place and check the threaded lockplate has engaged the thread properly. If it has it will turn with minimal effort, smoothly too:
#################################
THE FOLLOWING PROCESS IS BEST LEFT TO A PROFESSIONAL.
It is a complicated process that takes skill and patience and a thorough knowledge of what your doing to get right.
I have decided not to muddy the waters too much as the guide would become pretty much impossible to understand unless you really know what your doing.
However, those familiar with the process will understand what i'm getting at.
######################################
9#
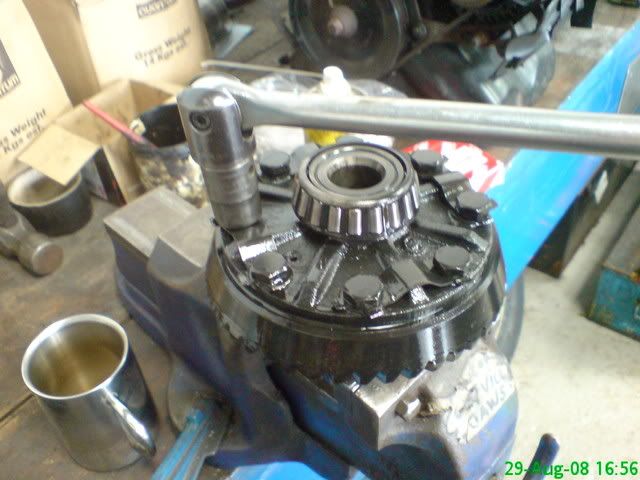
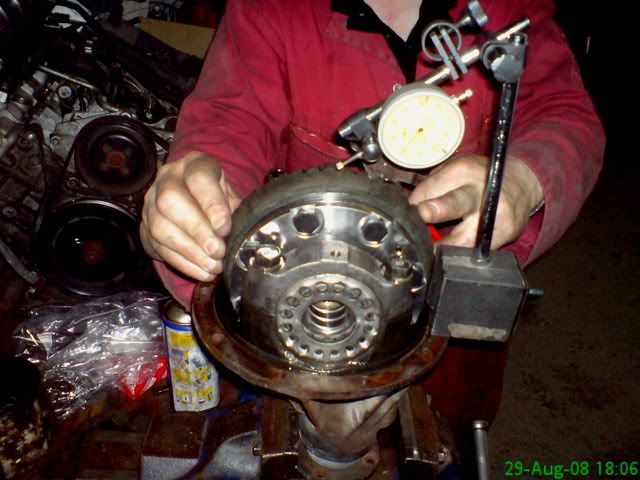
Setup at Dial Test Indicator to measure the crown wheel backlash.
The 17mm main strap bolts need to be tightened until the spring washers just compress. I.E not tight but a little nip.
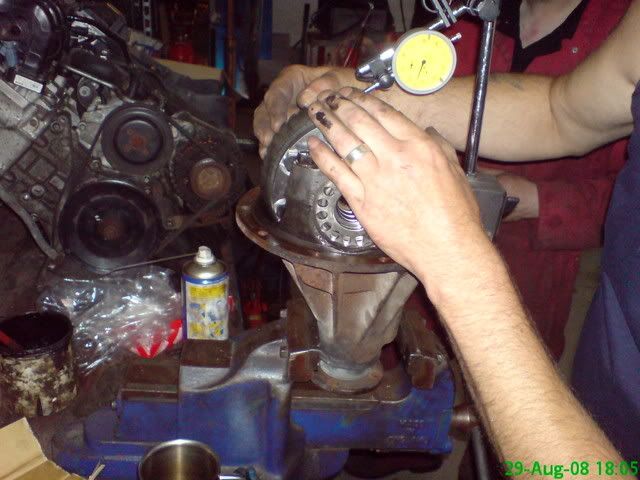
Toyota quote 0.2mm as the backlash setting, i was reading 0.7mm, so using the threaded lock plates i tightened them gently a small amount each side until i was reading a steady 0.2mm on the D.T.I:
You can just make out the needle difference between the two pics.
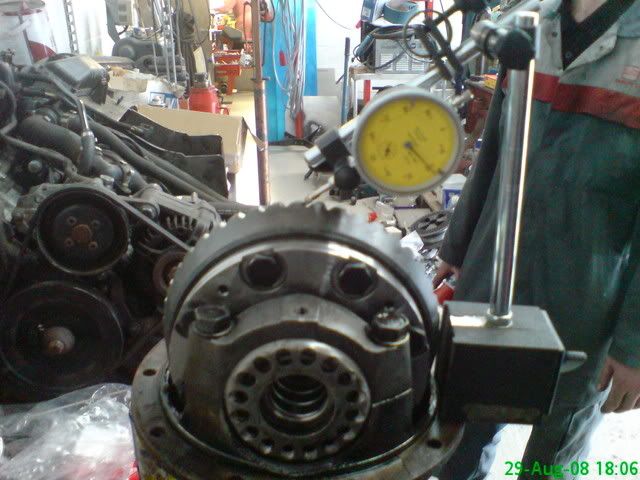
10#
Torque the 17mm main strap bolts to 60lb/ft and install the 12mm lock plate bolts and making sure that the 'fingers' are located in the large threaded lockplates. Tighten these to 9 lb/ft.
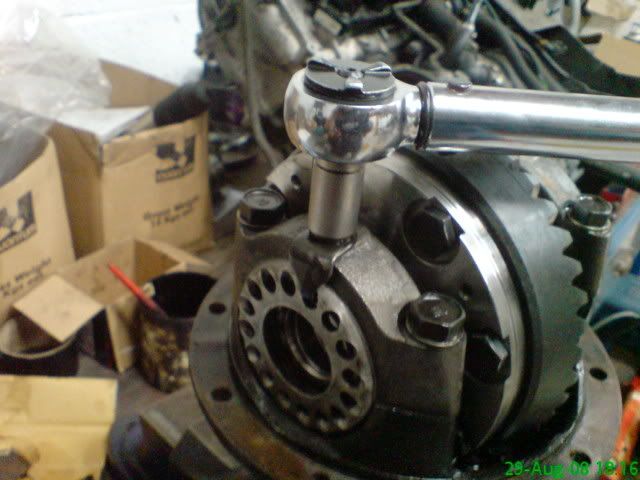
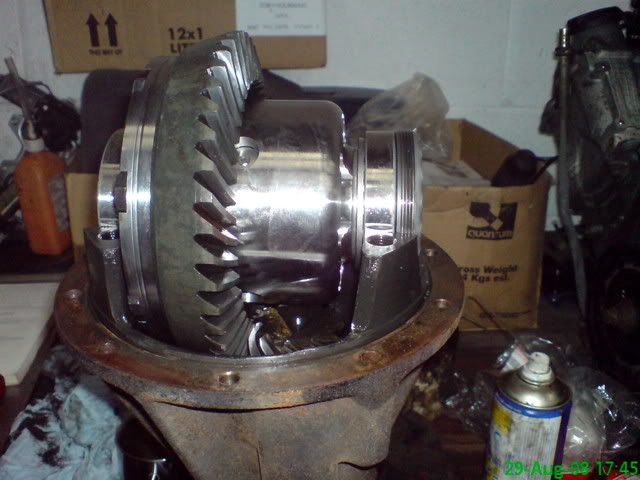
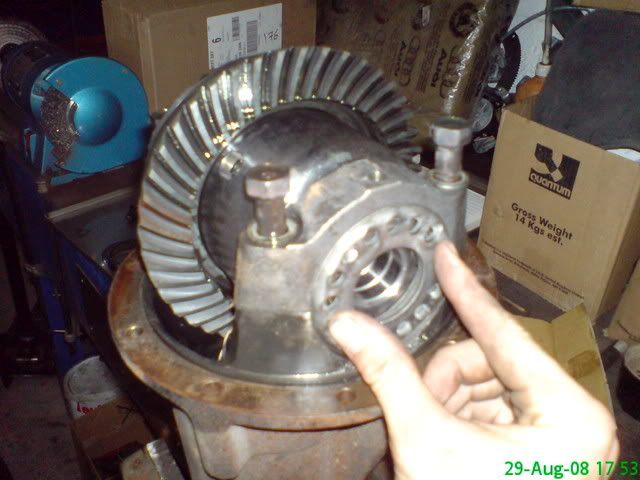
11#
Now carefully rotate the crown wheel and check it rotates smoothly through several complete revolutions. Voila - one new diff!:
The re-installation of the diff unit to the axle will be covered shortly.
